


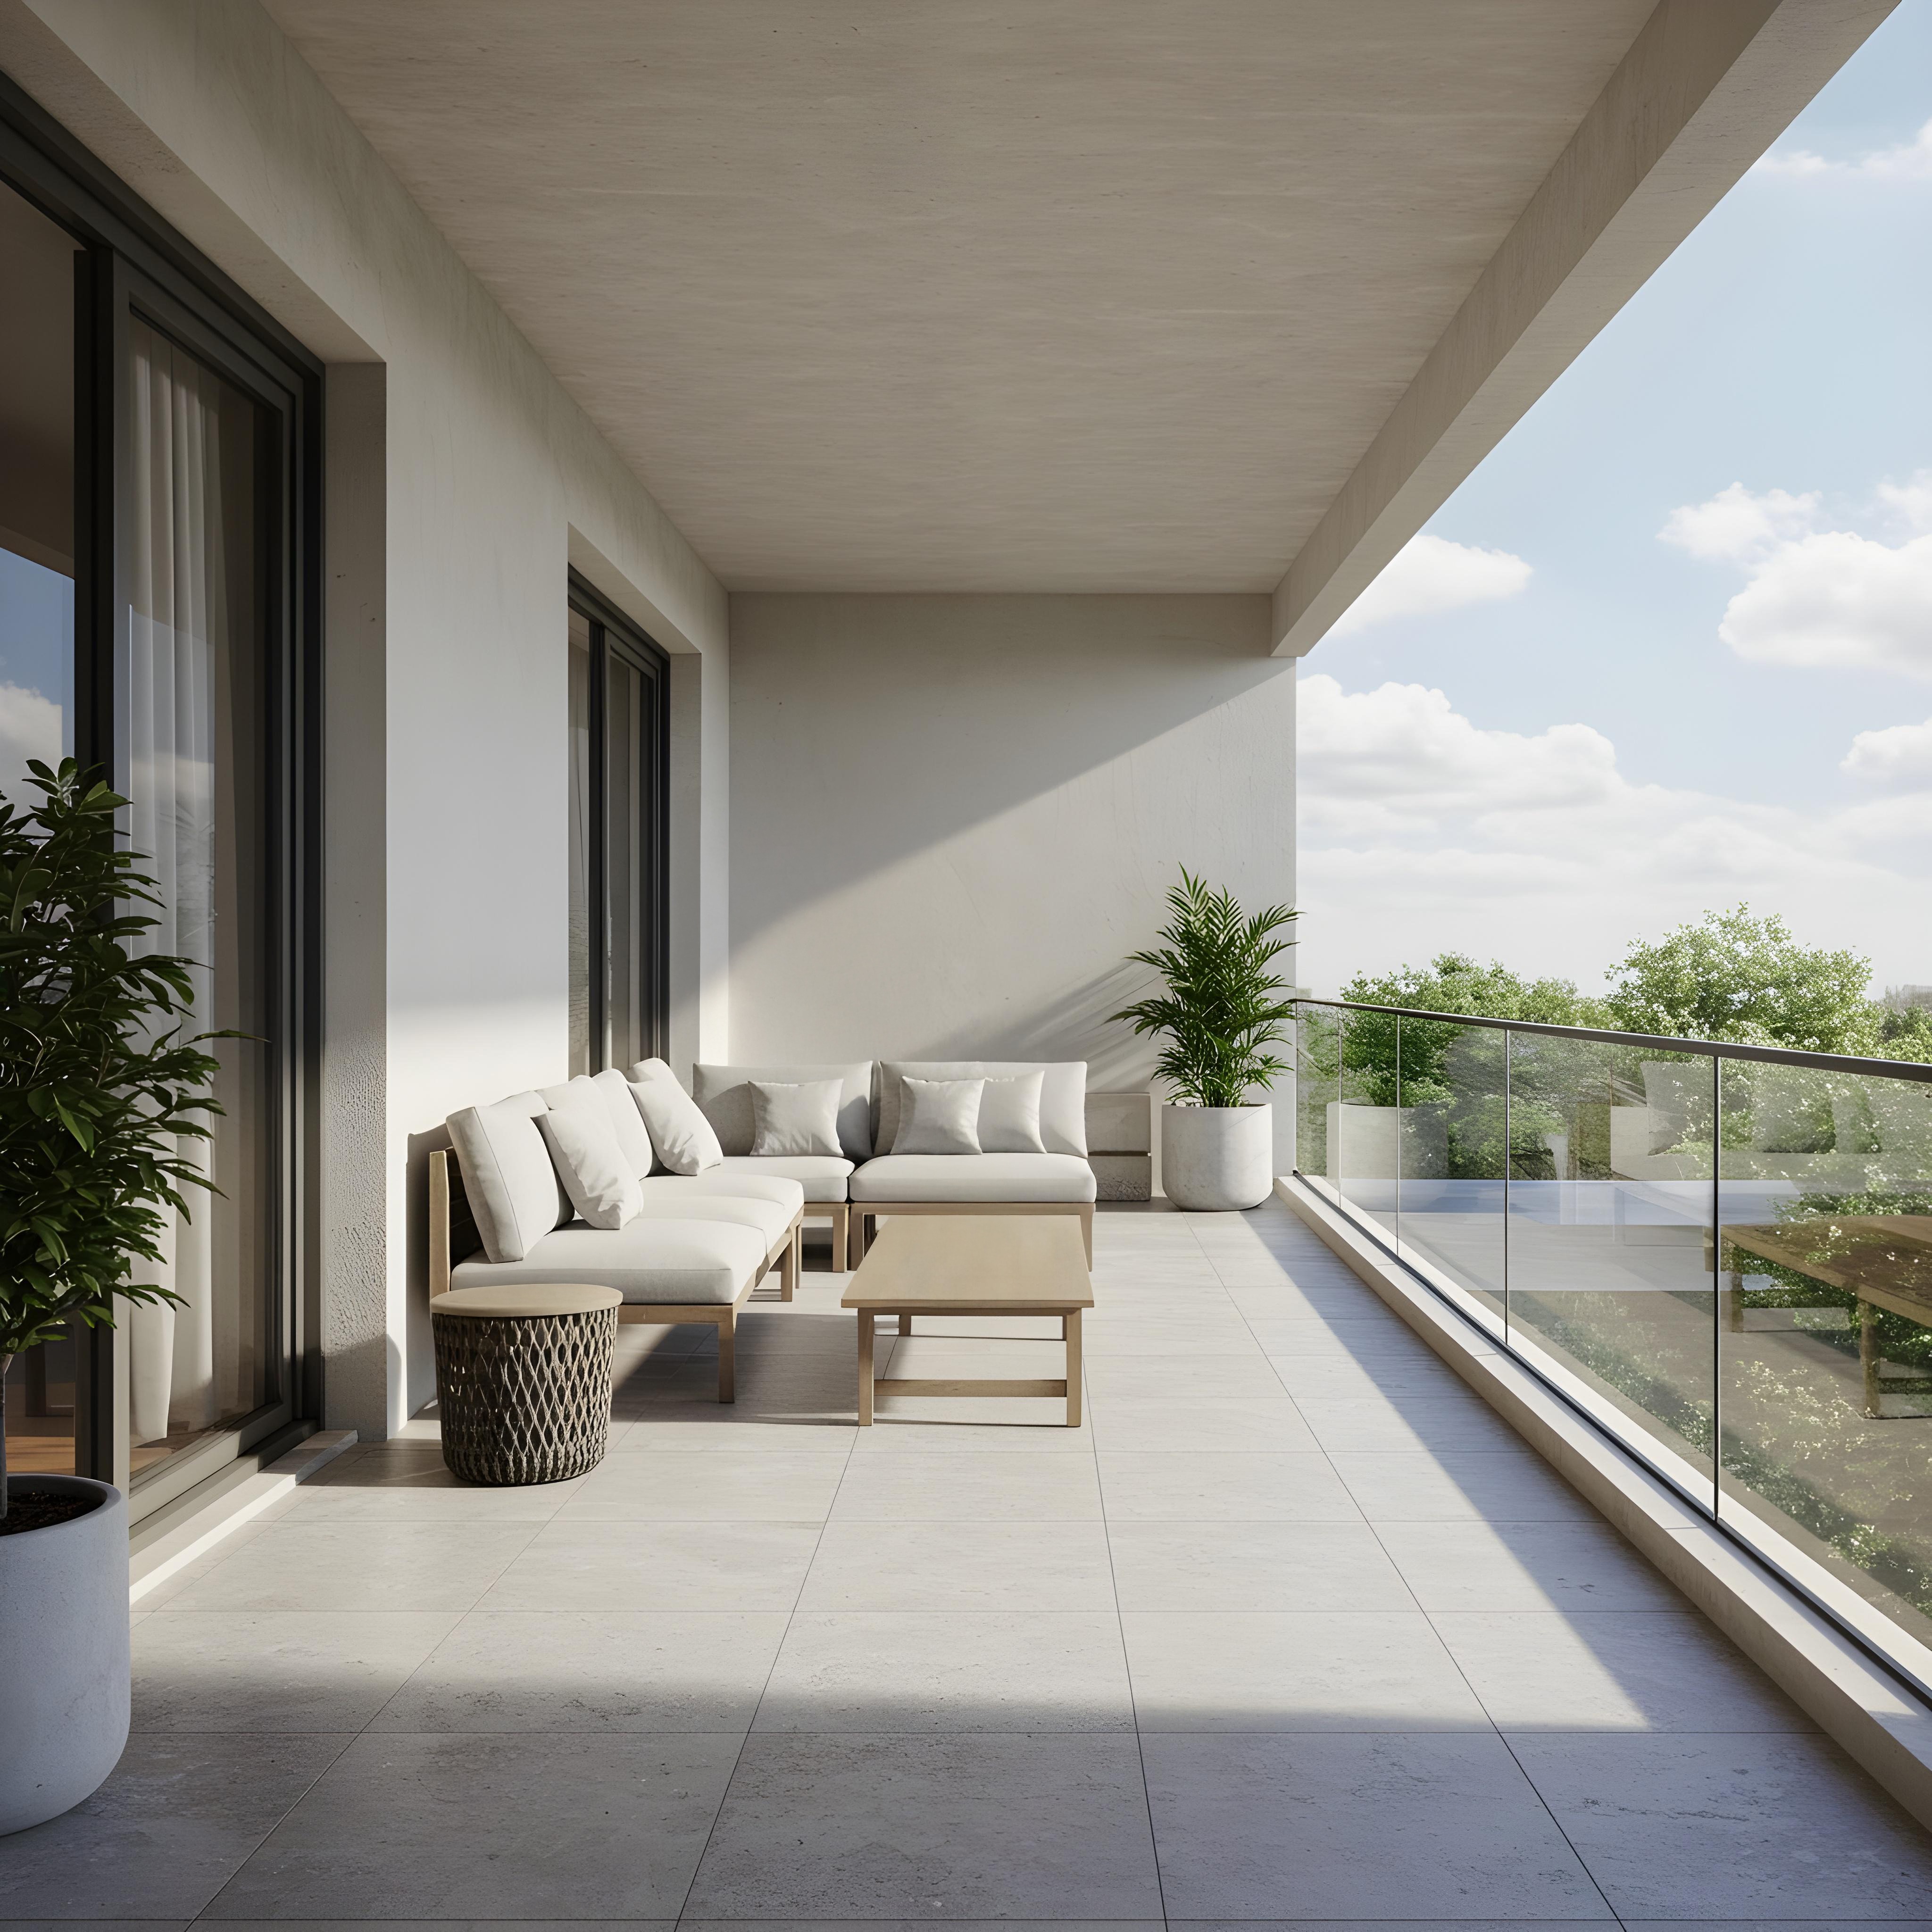
The terrace is undoubtedly the heart of the home relaxation zone, especially in the picturesque surroundings of residential homes. It is here that we drink morning coffee, organize family lunches, and relax after the day's hardships. However, to ensure that this space provides the desired, aesthetic look, high aesthetics, and serves the household for many years, it is crucial not only to choose beautiful cladding but above all to install it correctly. How to lay terrace tiles so they withstand Polish winters, sudden temperature changes, and intensive use without damage?
At Mexen, we know that in construction, the devil is in the details. Poorly laid tiles are not only a visual problem that spoils the building's final finish, but also a risk of cracking, material detachment, and destructive water accumulation. By utilizing proven technologies, we have prepared a comprehensive guide to walk you through the process of laying terrace tiles, taking care of every technical detail and the durability of the flooring.
Choosing Material: From Porcelain to Concrete Slabs and Construction Durability
Before the final answer to the question how to lay terrace tiles, we need to focus on the raw material itself. Not every material that looks good inside can handle demanding external conditions. The terrace is an extreme environment where weather conditions and humidity and changes in water vapor pressure wreak havoc on weak products. Adequate material durability is the foundation of success.
First of all, consider porcelain tiles, which have reigned on Polish balconies for years. Increasingly popular is the use of large-format concrete slabs and modern porcelain tiles with a thickness of 2 cm, which are characterized by extremely high technical parameters.
What to Pay Attention to When Choosing Tiles?
- Low water absorption and water resistance: This is an absolute must. Terrace tiles must have this parameter below 0.5%. Why? Because water penetrating the material's structure expands when freezing and literally cracks the ceramics from the inside.
- Frost resistance and durability: Look for the snowflake symbol. Materials resistant to moisture and frost guarantee that the outer layer will not begin to flake after the first winter.
- Slip resistance: Marked with the R symbol. For safety, especially when rainwater appears on the terrace, choose tiles with class R10 or R11.
- Tile thickness: In the case of laying a larger surface, especially where we plan to place heavy garden furniture or a grill, porcelain tiles of the appropriate thickness (e.g., 20 mm) provide unbeatable mechanical strength.
Installation Methods: Traditional vs. Modern Space Arrangement
When considering how to lay terrace tiles, you need to choose a technology suited to your design vision and substrate type. Currently, we distinguish three main trends that have wide applications in construction:
- Bonded method (wet): Classic laying of terrace tiles on concrete using adhesive mortar. Creates a permanent floor.
- Ventilated method: Laying tiles on special adjustable supports. A hit in recent years due to the ease of draining water under the tiles.
- Dry method: Allows you to lay tiles directly on the ground or create an impressive porcelain effect on grass, which is perfect for garden paths.
How to Lay Terrace Tiles Using the Traditional Method? Step-by-Step Instructions
If your choice fell on a traditional terrace made of porcelain tiles mounted with adhesive, you must be prepared for strict adherence to work stages.
Step 1: Ground Preparation and Slope Maintenance
Proper substrate preparation accounts for 70% of success. The concrete screed should not be treated lightly. It must be seasoned and have a slope of 1.5% to 2%. Without this slope, rainwater will accumulate by the walls, leading to facade degradation.
Step 2: Waterproofing – Protective Layer Against Moisture
This is the stage where most errors occur due to savings. A waterproof barrier must be applied under the adhesive layer. It should be applied evenly over the entire surface, paying special attention to sealing corners. This ensures the entire terrace finish will be completely resistant to moisture.
Step 3: Choice of Adhesive and Technique Ensuring Adhesion
Laying porcelain on a terrace requires C2TE S1 class mortar. Using a notched trowel, apply the adhesive using the combined method: both to the substrate and the bottom of each tile. This is crucial for adhesive bonding. When laying porcelain tiles, assist with rubber mallet taps to eliminate air gaps. Remember: any free space under a tile is where water can accumulate, which in winter will cause your work to burst. Applying full support is a guaranteed tile stability.
Step 4: Grouting and Expansion Joints and Terrace Aesthetics
Laying tiles on the terrace does not end with just adhering them. Outdoor joints should be wider than those inside the building - about 3-5 mm. Narrow joints will not absorb thermal stresses, leading to cracks and deteriorating terrace aesthetics. Moreover, on larger surfaces, expansion joints are necessary to allow the entire terrace surface to "breathe".
Laying Terrace Slabs on Supports – Modern Tile Fastening
More and more people are asking how to lay terrace slabs without messy wet works. The answer is a ventilated system. Laying 2 cm thick porcelain tiles on plastic supports is a solution that easily eliminates most problems. Such fastening does not require adhesives, which means that the stability of the structure depends on the precise setting of the supports.
Advantages of laying tiles on supports:
- Drainage: Water flows freely between tiles to the insulation underneath.
- Stability: Heavy terrace slabs hold due to their own mass.
- Ease of repair: Each tile can be lifted at any time.
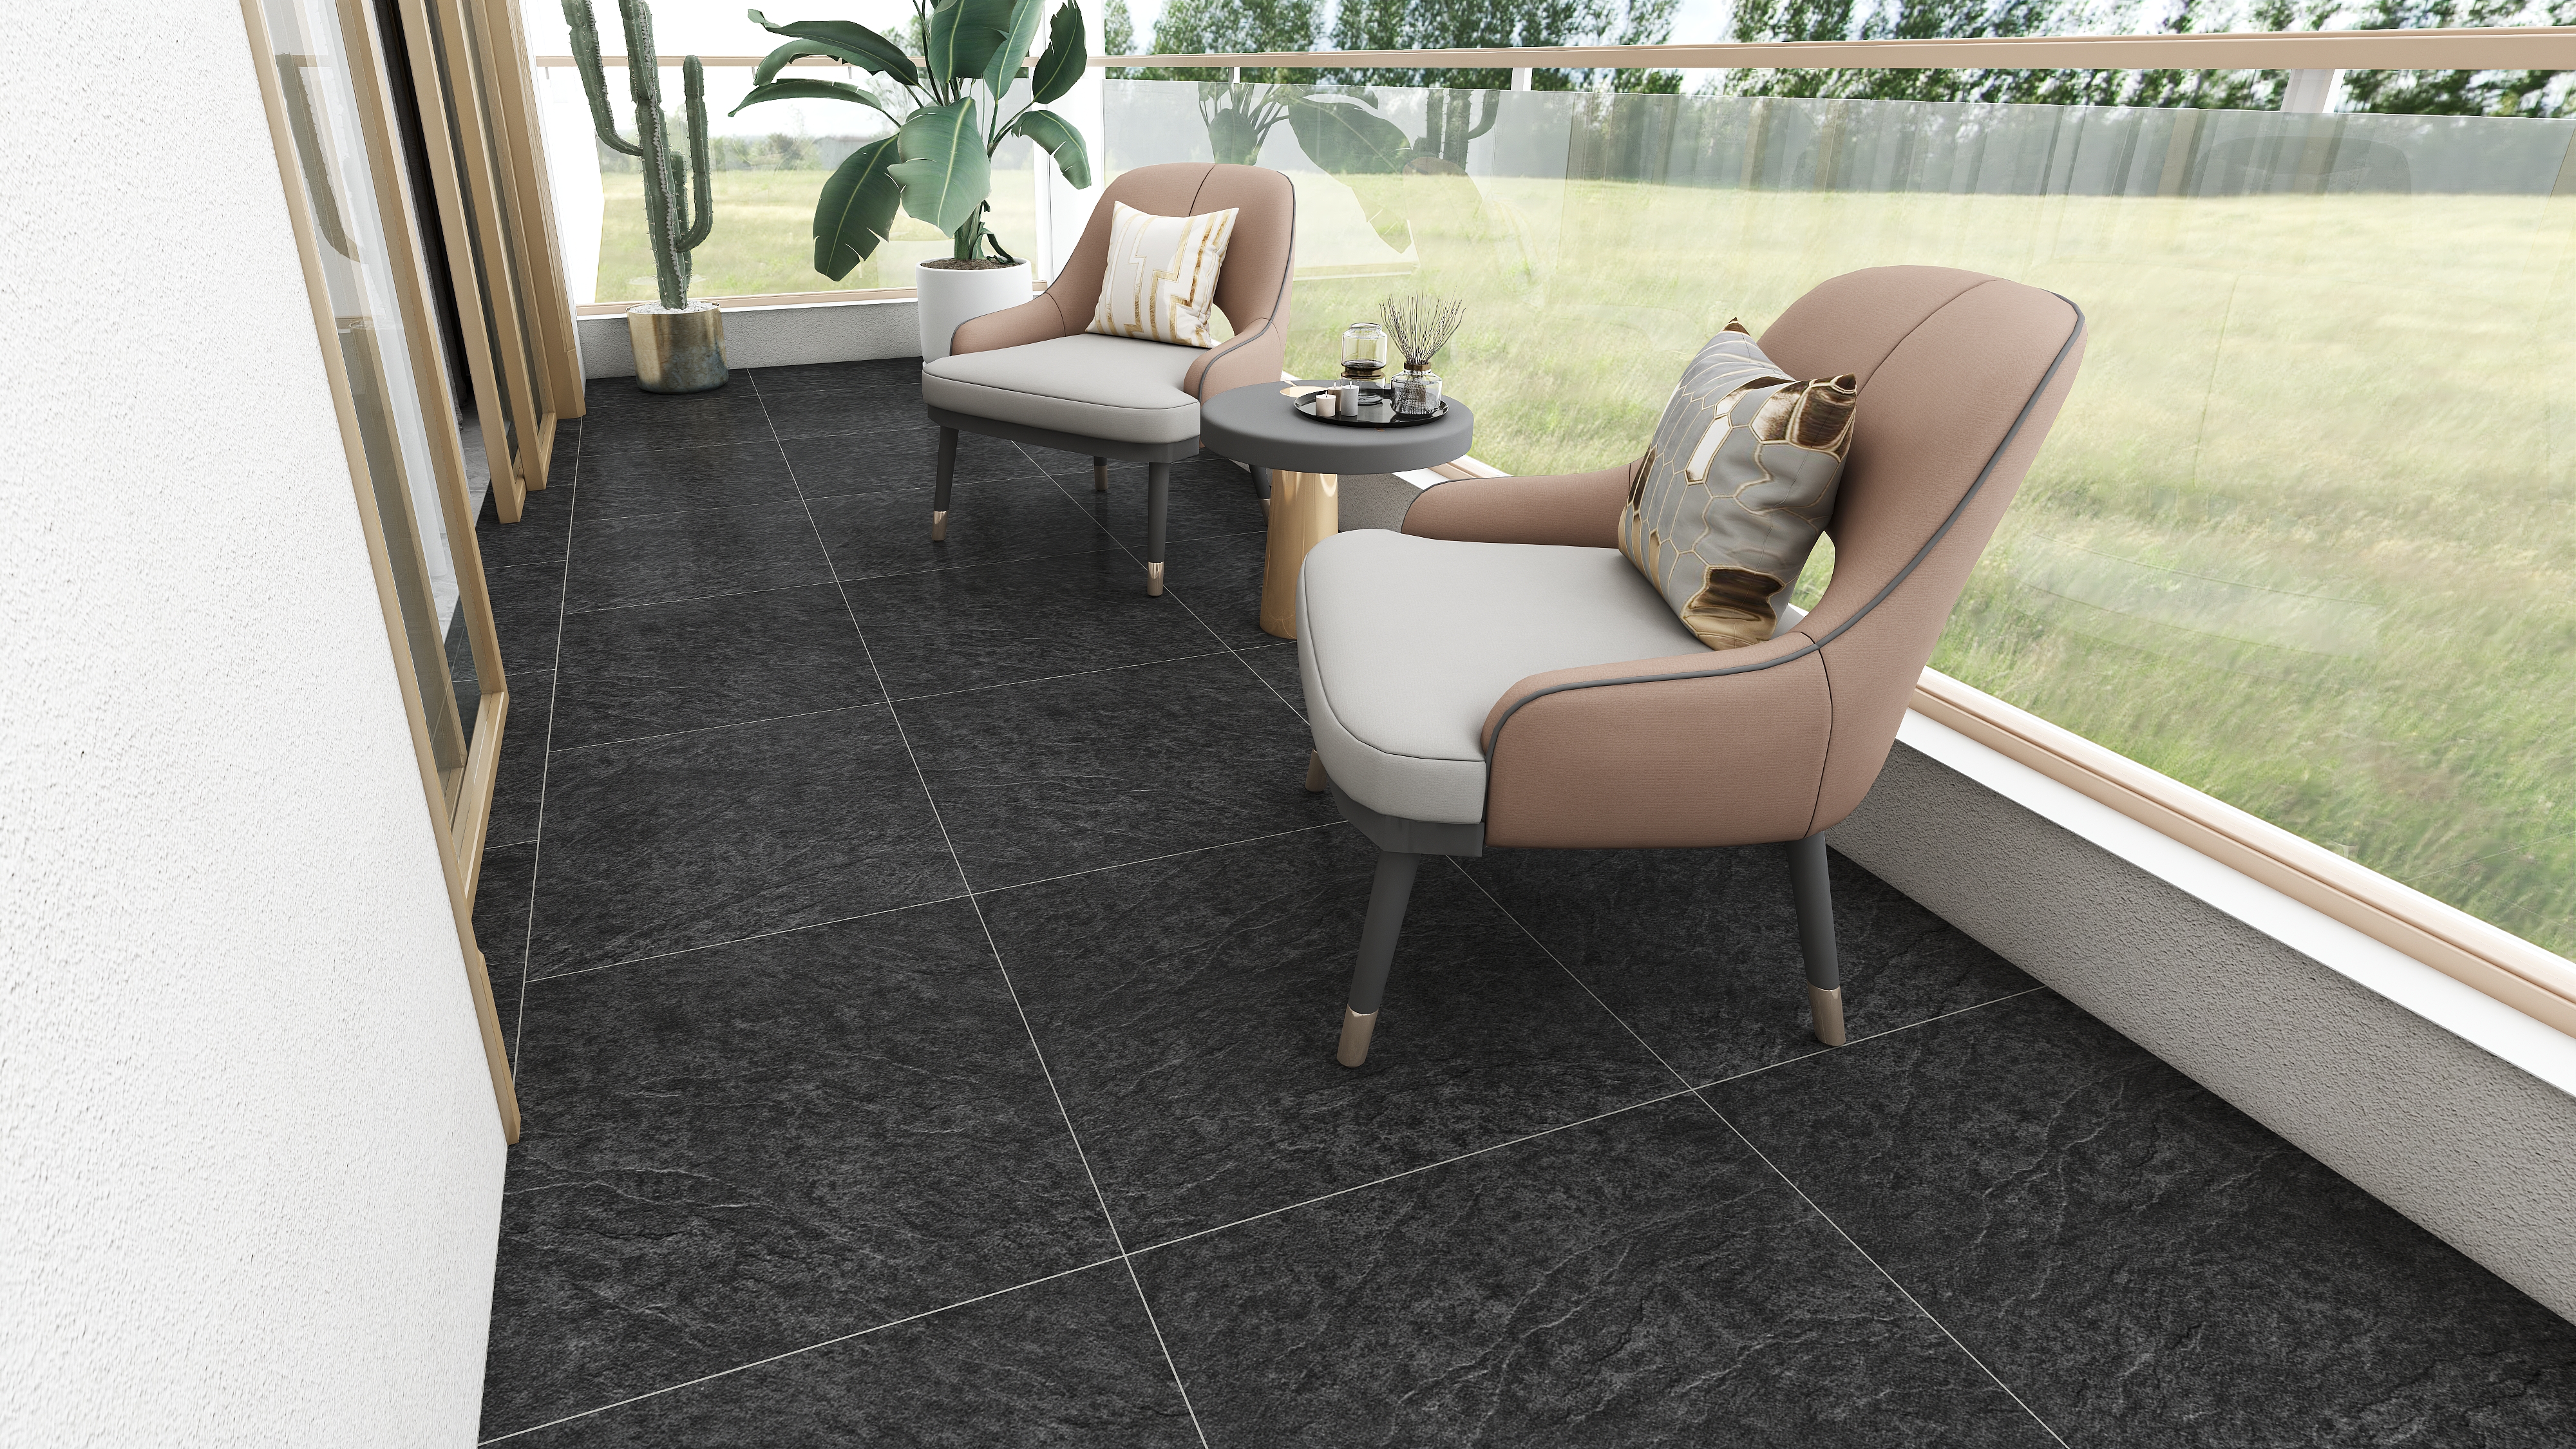
This system allows for a terrace with minimal joints, which looks extremely modern, especially in fashionable shades of gray or concrete imitations.
Common Mistakes – What to Avoid When Laying Slabs?
Even knowing in theory how to lay terrace tiles, it's easy to make a mistake. Here is a list of the most common mistakes:
- Poor ground preparation: Laying cladding on a dirty screed dramatically reduces tile adhesion and stability.
- Lack of full support: Laying tiles "on spots" is the shortest way to mechanical damage.
- Incorrect expansion joints: Omitting expansion joints will cause your floors to crack during the first summer.
- Use of incorrect chemicals: Using adhesive that cannot handle moisture and temperature changes.
Terrace Maintenance and Care – Key to Durable Finish
Knowing how to lay terrace tiles is only half the journey. To keep the terrace pleasing to the eye, periodic maintenance is required. Although modern porcelain tiles exhibit tremendous durability, it is worth keeping joints clean and regularly removing leaves or sand. In the case of ventilated terraces, it's worth checking once a year whether water flows freely from under the floor surface.
Summary: Choose Mexen for Your Terrace Design
Laying terrace tiles independently gives enormous satisfaction and allows you to create a space perfectly tailored to your garden arrangement. However, it requires patience and strict adherence to technical principles. Remember, the same rules you apply on the terrace are worth carrying over to other parts of the property, such as when building a practical garage driveway.
At Mexen, we offer a wide selection of materials that are perfect for building modern flooring. Our tiles, from classic porcelains to modern wood-like tiles, combine high durability with world-class design. Visit mexen.pl and find inspiration to help you create the terrace of your dreams, your property's showcase for years to come!
Need more advice? Check out our other posts on how to lay terrace slabs on different types of grounds and how to choose lighting that will accentuate your new slab's finish!
Related products


Mexen Deago Bianco glazed porcelain rectified G1, floor and wall tile 120 x 60 cm, matte - TL326-120-060-00
€30.60/m2 -19.97%
€24.49/m2List price: €30.60/m2
Lowest price: €24.49
Availability: In stock

- New
Mexen Kamen 2.0 Bianco terrace tile 60 x 60 x 2 cm, glazed porcelain rectified G1, matte - TL901-060-060-00
€37.30 -19.87%
€29.89List price: €37.30
Lowest price: €29.89
Availability: 2026-06-02

- New
Mexen Marina 2.0 Nero terrace tile 60 x 60 x 2 cm, glazed porcelain rect. G1, matte - TL905-060-060-04
€37.30 -19.87%
€29.89List price: €37.30
Lowest price: €29.89
Availability: 2026-06-02


Mexen Netiva Nero glazed rectified stoneware tile G1, floor and wall tile 120 x 60 cm, matt - TL316-120-060-04
€30.60/m2 -19.97%
€24.49/m2List price: €30.60/m2
Lowest price: €24.49
Availability: In stock

- New
Mexen Sarto 2.0 Choco Terrace Slab 60 x 60 x 2 cm, Glazed Rectified Porcelain, Matte - TL902-060-060-01
€37.30 -19.87%
€29.89List price: €37.30
Lowest price: €29.89
Availability: 2026-06-02